
*This post may contain affiliate links. As an Amazon Associate we earn from qualifying purchases.
If you’re reading this, chances are you’re the proud owner of a Nintendo Switch and its accompanying controllers. But let’s be real – as much as we love our Switch, those controllers can be a major pain in the butt when it comes to charging.
Don’t you just hate it when you’re in the middle of an intense gaming session, only to be interrupted by a “low battery” notification? Ugh, it’s the worst.
Fear not, my fellow gamers. I’m here to help you navigate the confusing world of Switch controller charging. Together, we will conquer dead batteries and get back to playing all of your favorite games.
Joy-Con Charging Options (How To Charge Joy-Cons)
There are a few different ways that you can charge the Joy-Con controllers that come with your Switch console. I will go into each of them below.
Using the Switch Dock
The most obvious method for Joy-Con charging is by using the Dock that came with your console. Simply place your Switch in the Dock, connect the Joy-Cons and voila! It will start charging.
This is also the easiest way to charge Joy-Cons, as they will charge while connected to the Switch as it sits in the charging dock. Just make sure to keep the Dock plugged into a power source.
Using a USB-C Cable
If you don’t feel like lugging the dock around with you, you can also charge your Switch Joy-Cons using a USB-C cable. This can be helpful if you’re traveling or don’t have access to a Dock.
Just connect one end of the cable to the Switch and the other end to a power source, and then attach your Joy-Cons to the console
Using a Portable Charger
You can also charge your Switch Joy-Cons using a portable charger. This is a great option for those of us who are always on the go and need to keep our Switch and controllers charged up.
Just make sure to get a portable charger with enough power to fully charge your Switch – the last thing you want is to run out of juice on your charger before your Switch is fully charged.
As with docking or using a USB-C cable you just have to attach your Joy-Cons to the Switch while it is connected to the portable charger to be able to charge them.
Use Your Switch
The last way that you can charge your Joy-Con controllers is to just attach them to your Switch itself even if it isn’t attached to a power source. If your Joy-Cons are almost dead you can charge them using your Switch’s battery.
Yes, charging your Joy-Cons by using your Switch console’s battery will make the Switch battery die faster but if you don’t have any other options this is certainly one that will work just fine.
Just make sure that you are going to have access to either dock or plugin your Switch sooner rather than later if charging your Joy-Cons with this method.
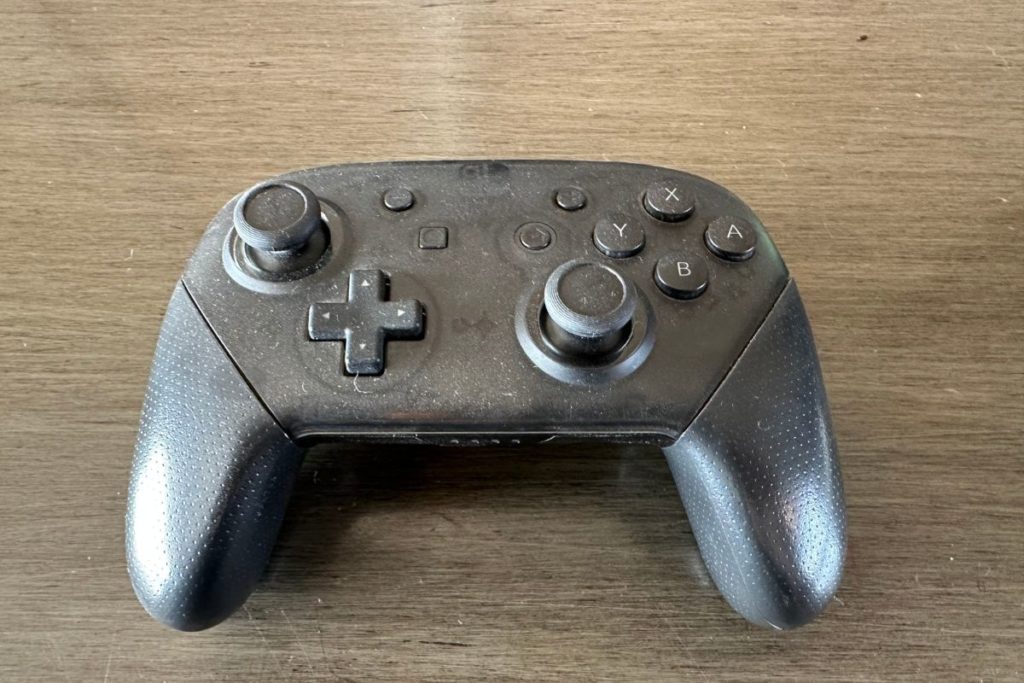

How to Charge the Switch Pro Controller
Now let’s move on to the Pro Controller. This bad boy is a bit different from the Joy-Cons, as it can’t be charged while connected to the Switch. Instead, it must be charged separately.
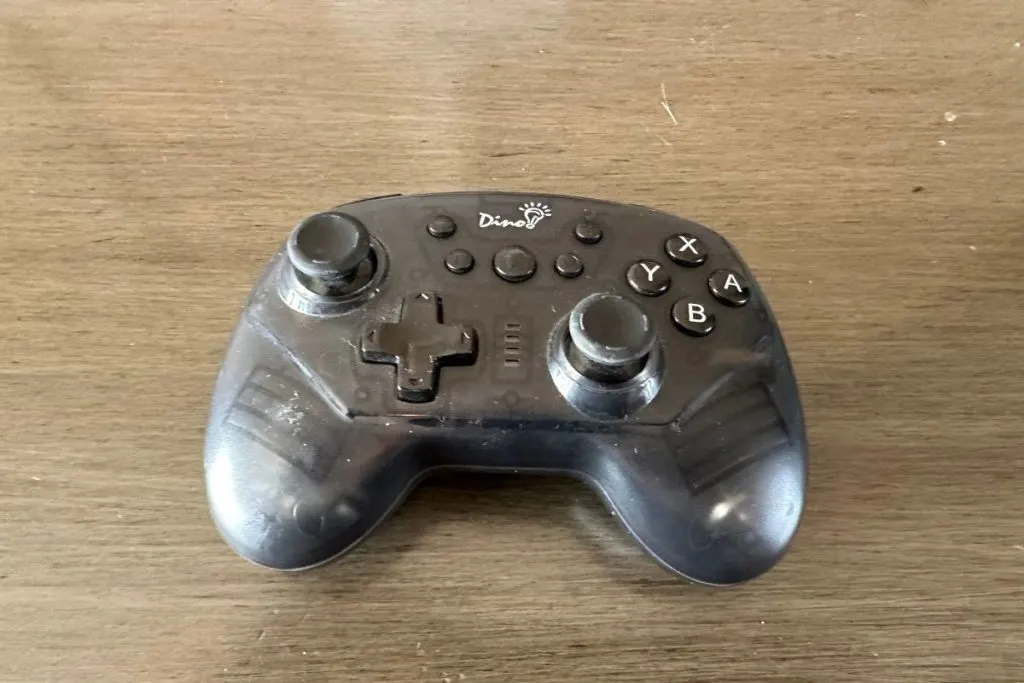
To charge a Switch Pro controller (or any of the many generic controllers) all you have to do is plug them in using the USB-C cord that was provided with them when you purchased the controllers. If you don’t have that cord anymore you can also unplug the USB-C cord from your Switch dock and plug your controller into that.
You can still play with your Switch wireless controller while it is plugged in as well (as long as the controller isn’t entirely dead). Just plug it in before it dies entirely and you can keep gaming while your Pro controller charges.

Maintenance Tips for Extending the Battery Life Of Your Switch Console Controllers
Now that you know how to charge your Switch controllers, let’s talk about how to extend their battery life. Because let’s be real, no one wants to constantly be dealing with dead controllers (especially in the middle of your gaming session with friends).
Here are some tips to keep in mind:
- Turn off the controller when it’s not in use. This may seem like a no-brainer, but you’d be surprised how many people forget to do this. Turning off the controller when you’re not using it will help conserve battery life.
- Avoid exposing the controller to extreme temperatures. Both heat and cold can have a negative impact on battery life. So if you’re playing outside on a hot summer day or in a freezing cold basement, try to keep your controller in a more moderate temperature.
- Use the correct charging equipment. It’s important to use the proper charging equipment for your Switch controllers to ensure they are charging safely and efficiently. Avoid using third-party charging equipment, as it may not be compatible with your controllers and could potentially cause damage.
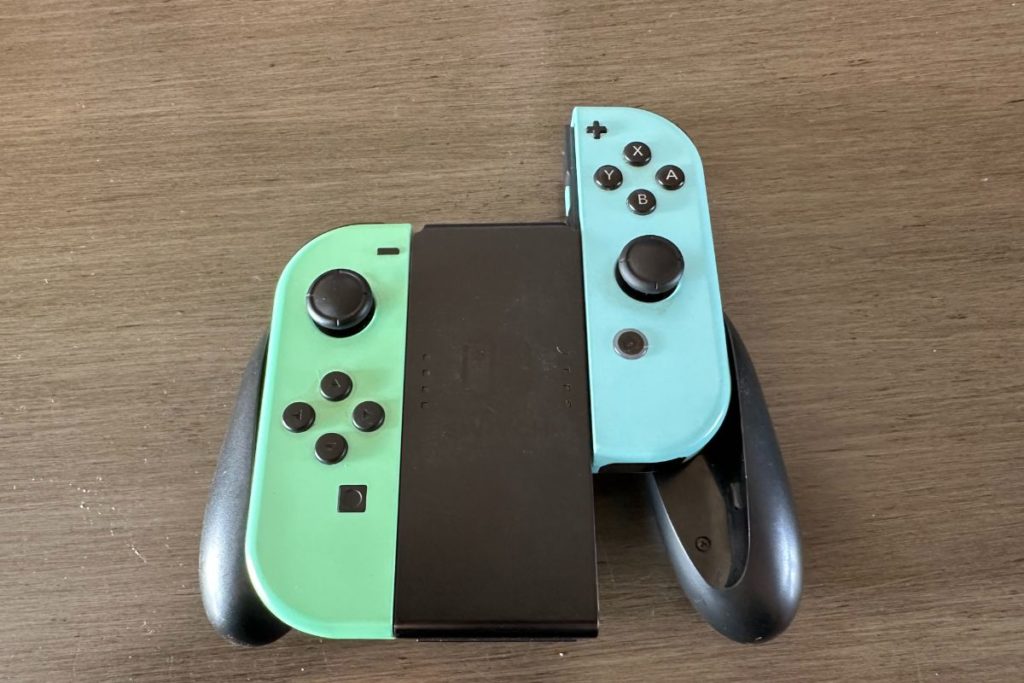
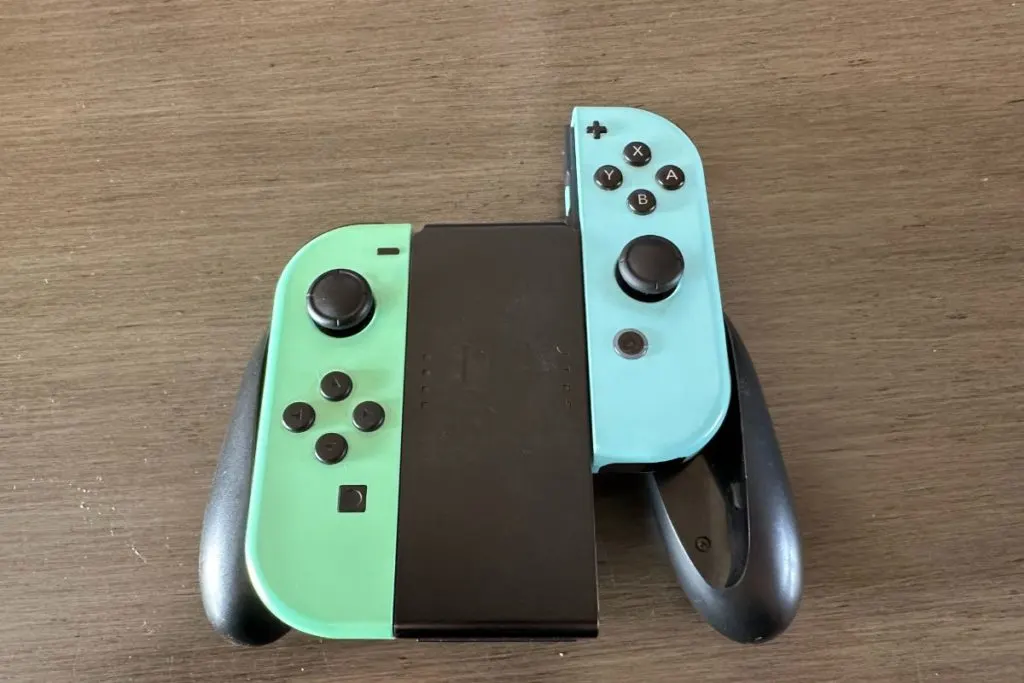
What Is A Switch Charging Grip? (How Does It Charge)
So, you’re probably wondering what the heck a Switch charging grip is. Well, let me tell you, it’s a glorious piece of technology that will change your gaming life forever. Basically, it’s a grip that attaches to your Nintendo Switch and allows you to charge it while you play. I know, I know, you’re thinking “Why didn’t I think of that?” But trust me, you’re not alone in your ignorance.
Now, I know you’re probably thinking “But wait, doesn’t the Switch already come with a charging cable?” And yes, it does. But let’s be real here, how often have you been mid-gaming session, only to realize your controller is at 2% battery and you’re out of reach of an outlet? It’s a nightmare. But with a charging grip, you can say goodbye to those pesky interruptions and hello to uninterrupted gaming bliss.
But wait, there’s more! Not only does a charging grip eliminate the need for a charging cable, but it also makes your Switch more comfortable to hold. I mean, let’s be real, the Switch is a bit on the bulky side. But with a charging grip, it’s like holding a tiny, portable gaming console with a built-in power source. It’s like a dream come true.
So, if you’re tired of interruptions and uncomfortable grips, then a Switch charging grip is the answer to all your problems. It’s like the ultimate gaming accessory. And trust me, once you try it, you won’t be able to go back to your old, cable-dependent ways. So, go ahead and treat yourself, your Switch (and your thumbs) will thank you.
How long does it take to charge the controllers?
The Joy-Cons will typically take about 3.5 hours to fully charge using the Dock or a USB-C cable, while the Pro Controller will take about 5.5 hours. Using a portable charger will result in longer charging times.
Can I play while the controller is charging?
Yes, you can play while the controller is charging. However, keep in mind that playing while the controller is charging will result in slower charging times, as the controller is using power while it is being charged.
What should I do if my controller isn’t charging?
If your controller isn’t charging, there are a few things you can try:
~Make sure the controller is properly connected to the charging source.
~Try using a different charging cable or charging source.
~Check for any visible damage to the controller or charging equipment.
~Try resetting the controller by pressing the Reset button (located in the small hole on the back of the controller) with a paperclip.
If none of these solutions work, it’s possible that there is an issue with the controller itself. In this case, it may be best to contact Nintendo for assistance.
Final Thoughts
And there you have it, folks – everything you need to know about charging your Switch controllers. Whether you prefer the convenience of the Switch Dock and USB-C cable or the on-the-go power of a portable charger, there are plenty of options to keep your controllers charged and ready for action.
Just remember to turn them off when not in use and avoid exposing them to extreme temperatures, and you’ll be well on your way to extended battery life.
And if you’re ever having trouble charging your controllers, don’t forget to try the troubleshooting tips outlined in the FAQ section. Hopefully, they’ll help you get your controllers back up and running in no time.
So go forth, my fellow gamers, and conquer those dead batteries. And remember to always keep your controllers charged and ready for your next gaming marathon.